When installing basement egress windows in your Twin Cities home, don't overlook these key requirements and costs.
.avif)
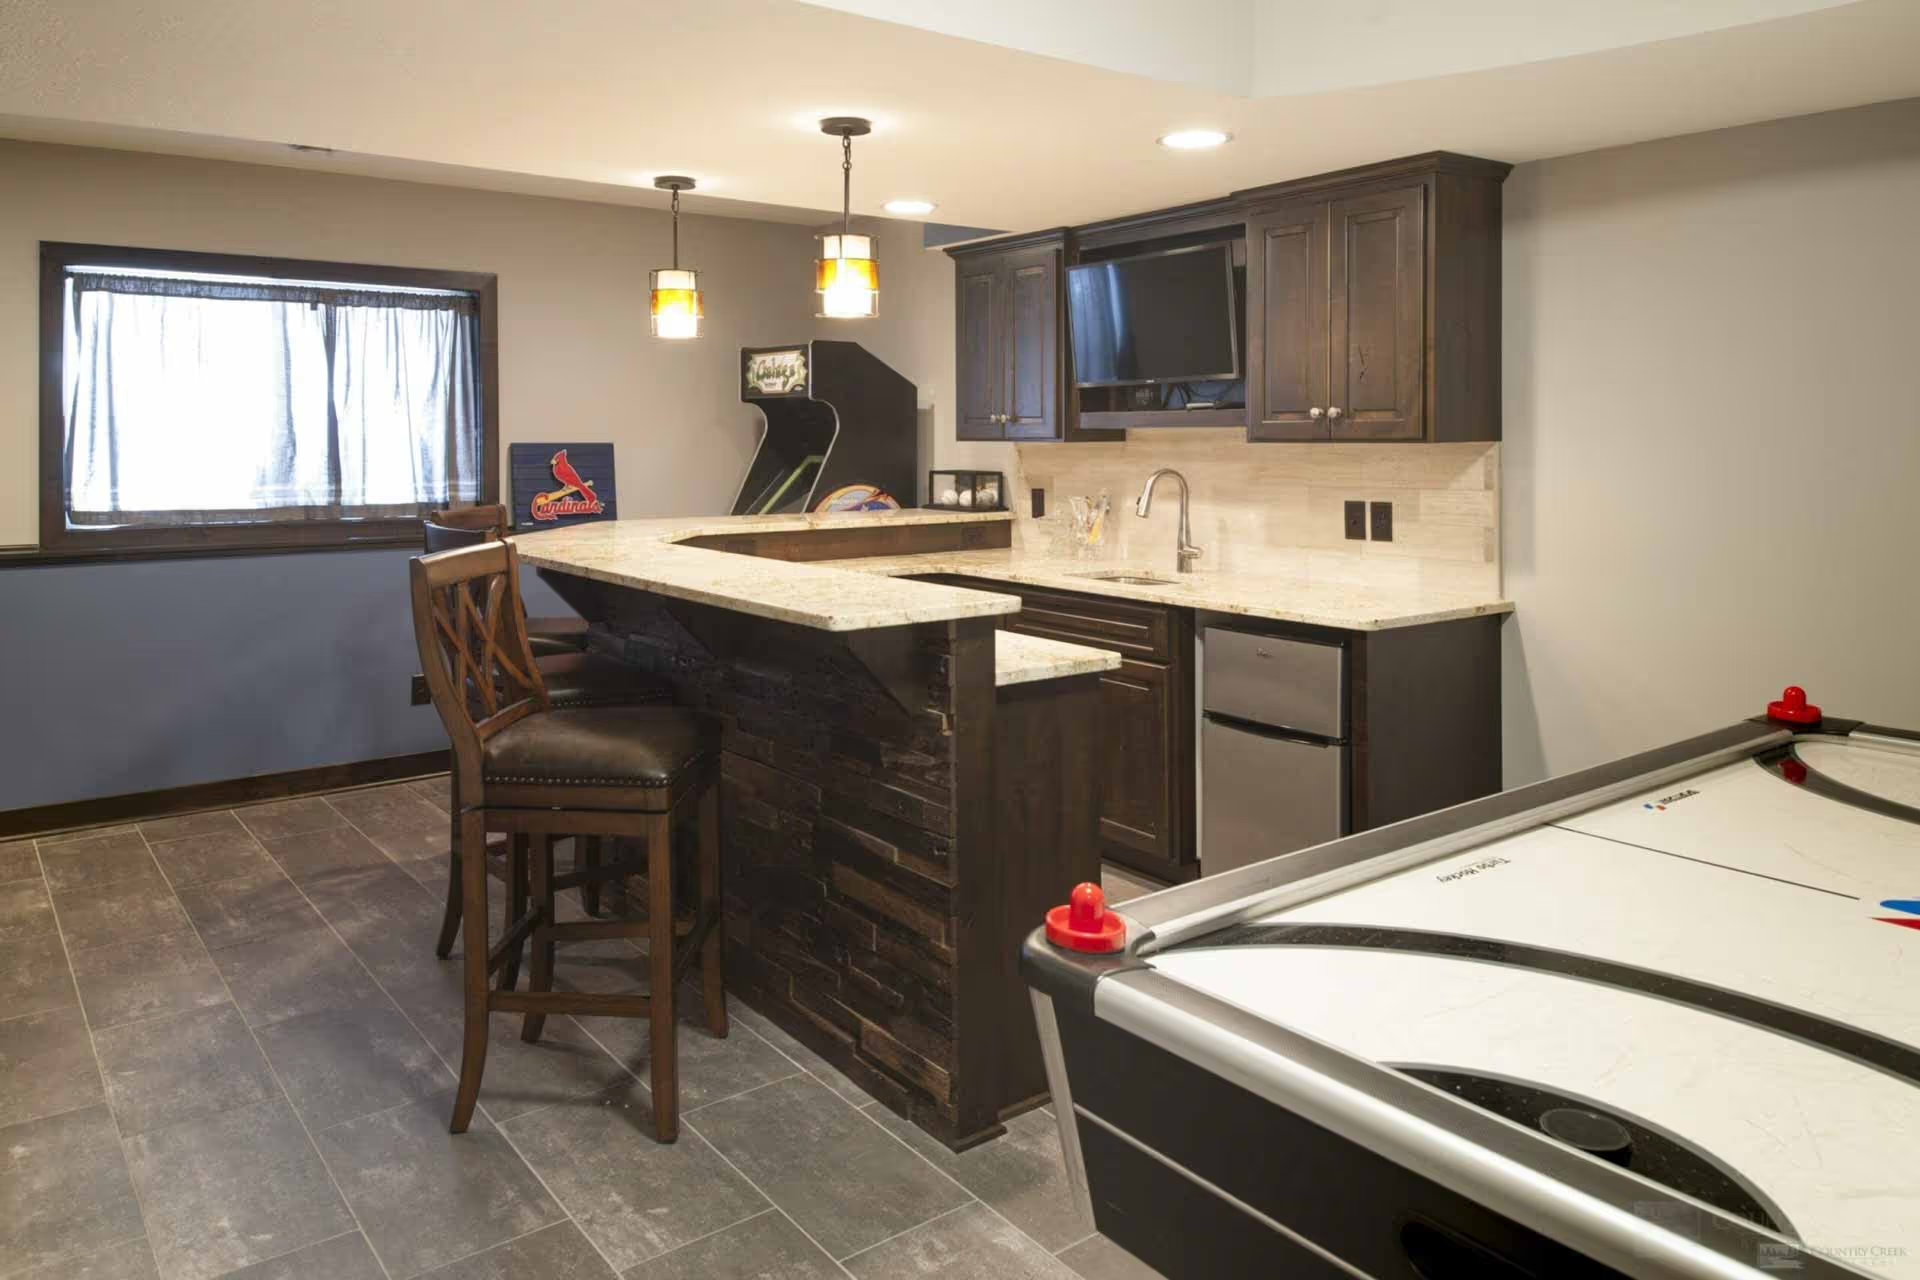
Your finished basement could be spectacular—movie theater with stadium seating, wet bar that makes entertaining effortless, beautiful guest suite for visiting family. But without proper egress windows, it's not a legal bedroom. Even more important, it's not a safe space for anyone who might need to escape during an emergency.
Here's what surprises most homeowners planning basement finishing projects in Apple Valley, Lakeville, and across the South Metro: egress window requirements aren't suggestions. They're Minnesota building code mandates that determine whether your beautiful basement remodel passes inspection—and whether your family can safely escape in an emergency.
After completing 586+ basement projects, we've seen homeowners make expensive mistakes by planning bedrooms without understanding egress requirements, choosing windows that don't meet code specifications, or discovering during permit applications that their basement layout won't work without costly structural modifications.
This comprehensive guide walks through everything Apple Valley and South Metro homeowners need to know about egress windows: legal requirements, installation costs, design considerations, and how to integrate them into your basement finishing plans from the start.
Minnesota has adopted the International Residential Code (IRC) with state-specific amendments that establish strict requirements for basement bedrooms and emergency escape.
Egress means "a way out"—a means of escape during emergencies when stairs might be blocked by fire or smoke. Minnesota building code requires every basement bedroom to have an emergency escape and rescue opening (egress window) that meets specific size and accessibility standards.
These aren't aesthetic choices or optional upgrades. They're life safety requirements that inspectors verify before issuing certificates of occupancy for finished basements.
Minnesota IRC Section R310.1 establishes these specific requirements:
Minimum opening area: 5.7 square feet of net clear opening (the actual opening when the window is fully open, not including frame or sash)
Minimum opening height: 24 inches
Minimum opening width: 20 inches
Maximum sill height: 44 inches from the finished floor to the bottom of the window opening
Window well depth: Wells deeper than 44 inches must include permanent ladder or steps
Window well horizontal area: Minimum 9 square feet with minimum horizontal projection of 36 inches from the foundation wall
These specifications ensure that adults can escape through windows quickly and that firefighters can enter to perform rescues.
Many homeowners planning basement finishing assume they're not creating "bedrooms," so egress windows aren't necessary. Minnesota building inspectors have a different definition.
A room is considered a bedroom if it has:
You can call it a "bonus room," "flex space," or "multi-purpose room," but if it looks like a bedroom and functions like a bedroom, inspectors require egress windows. Trying to work around this requirement by eliminating closets or using creative naming rarely succeeds and can create resale problems.
Homes built before current code adoption (1970s-1980s) often have basement bedrooms without egress windows. These rooms are "grandfathered" and don't require immediate upgrades unless you're making substantial renovations.
However, once you pull permits for basement finishing work, inspectors may require bringing the entire space up to current code—including adding egress windows to existing bedrooms even if you're not renovating those specific rooms.
This catch-22 surprises homeowners who planned to finish one section of their basement but discover they need expensive egress window installations throughout the lower level.
Very limited exceptions exist to egress window requirements:
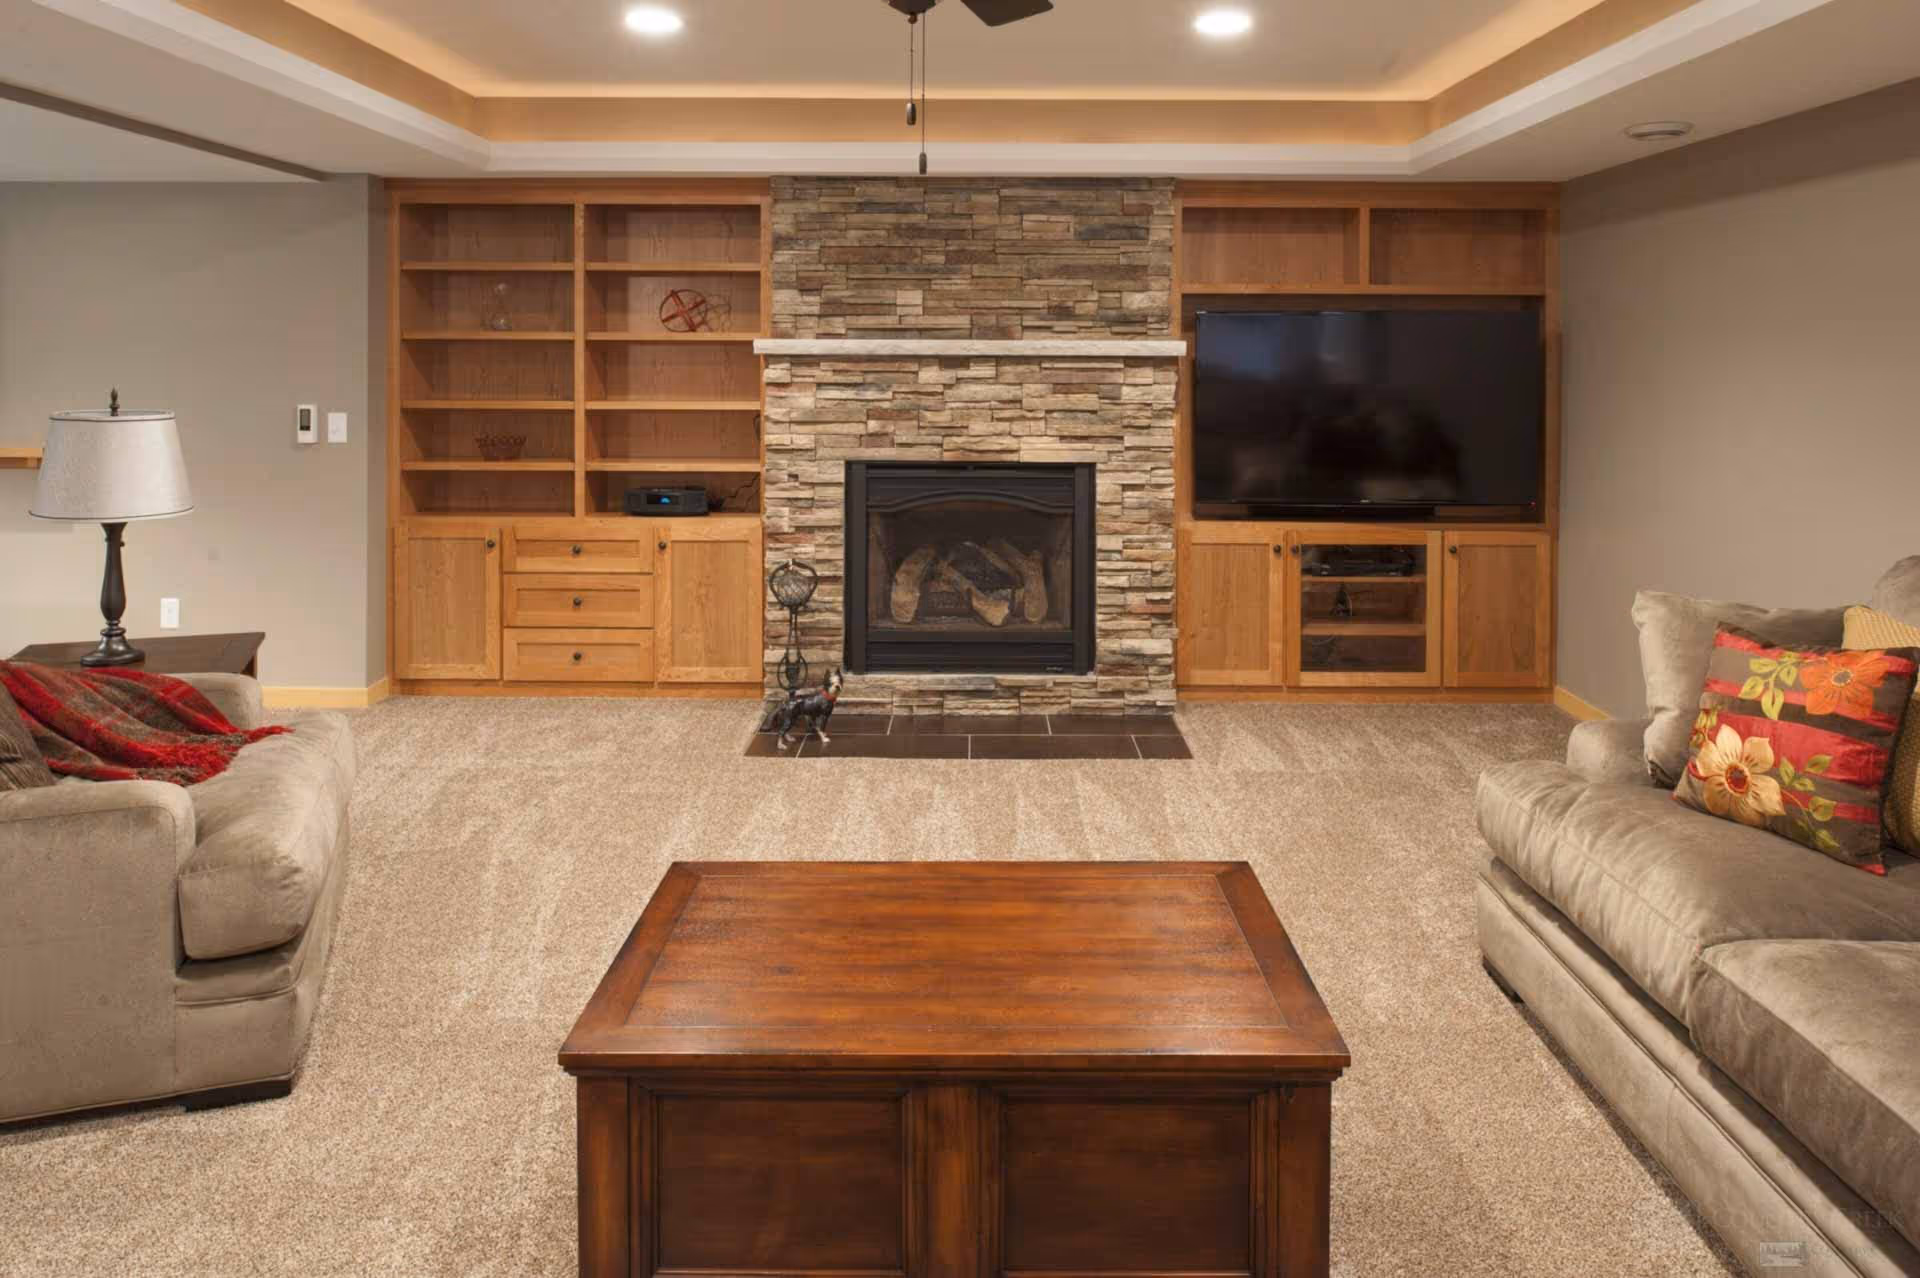
Basements without bedrooms: Recreational spaces, home theaters, wet bars, and family rooms don't require egress windows unless they include sleeping areas
Approved sprinkler systems: Some jurisdictions allow reduced egress requirements when automatic fire sprinkler systems are installed throughout the home, but this rarely makes financial sense for residential properties
Existing non-conforming spaces: Older homes grandfathered under previous codes may not need immediate upgrades unless substantial renovations trigger full code compliance
For homeowners planning new basement bedrooms in Apple Valley, Lakeville, Prior Lake, or Rosemount, there's no practical alternative to proper egress windows.
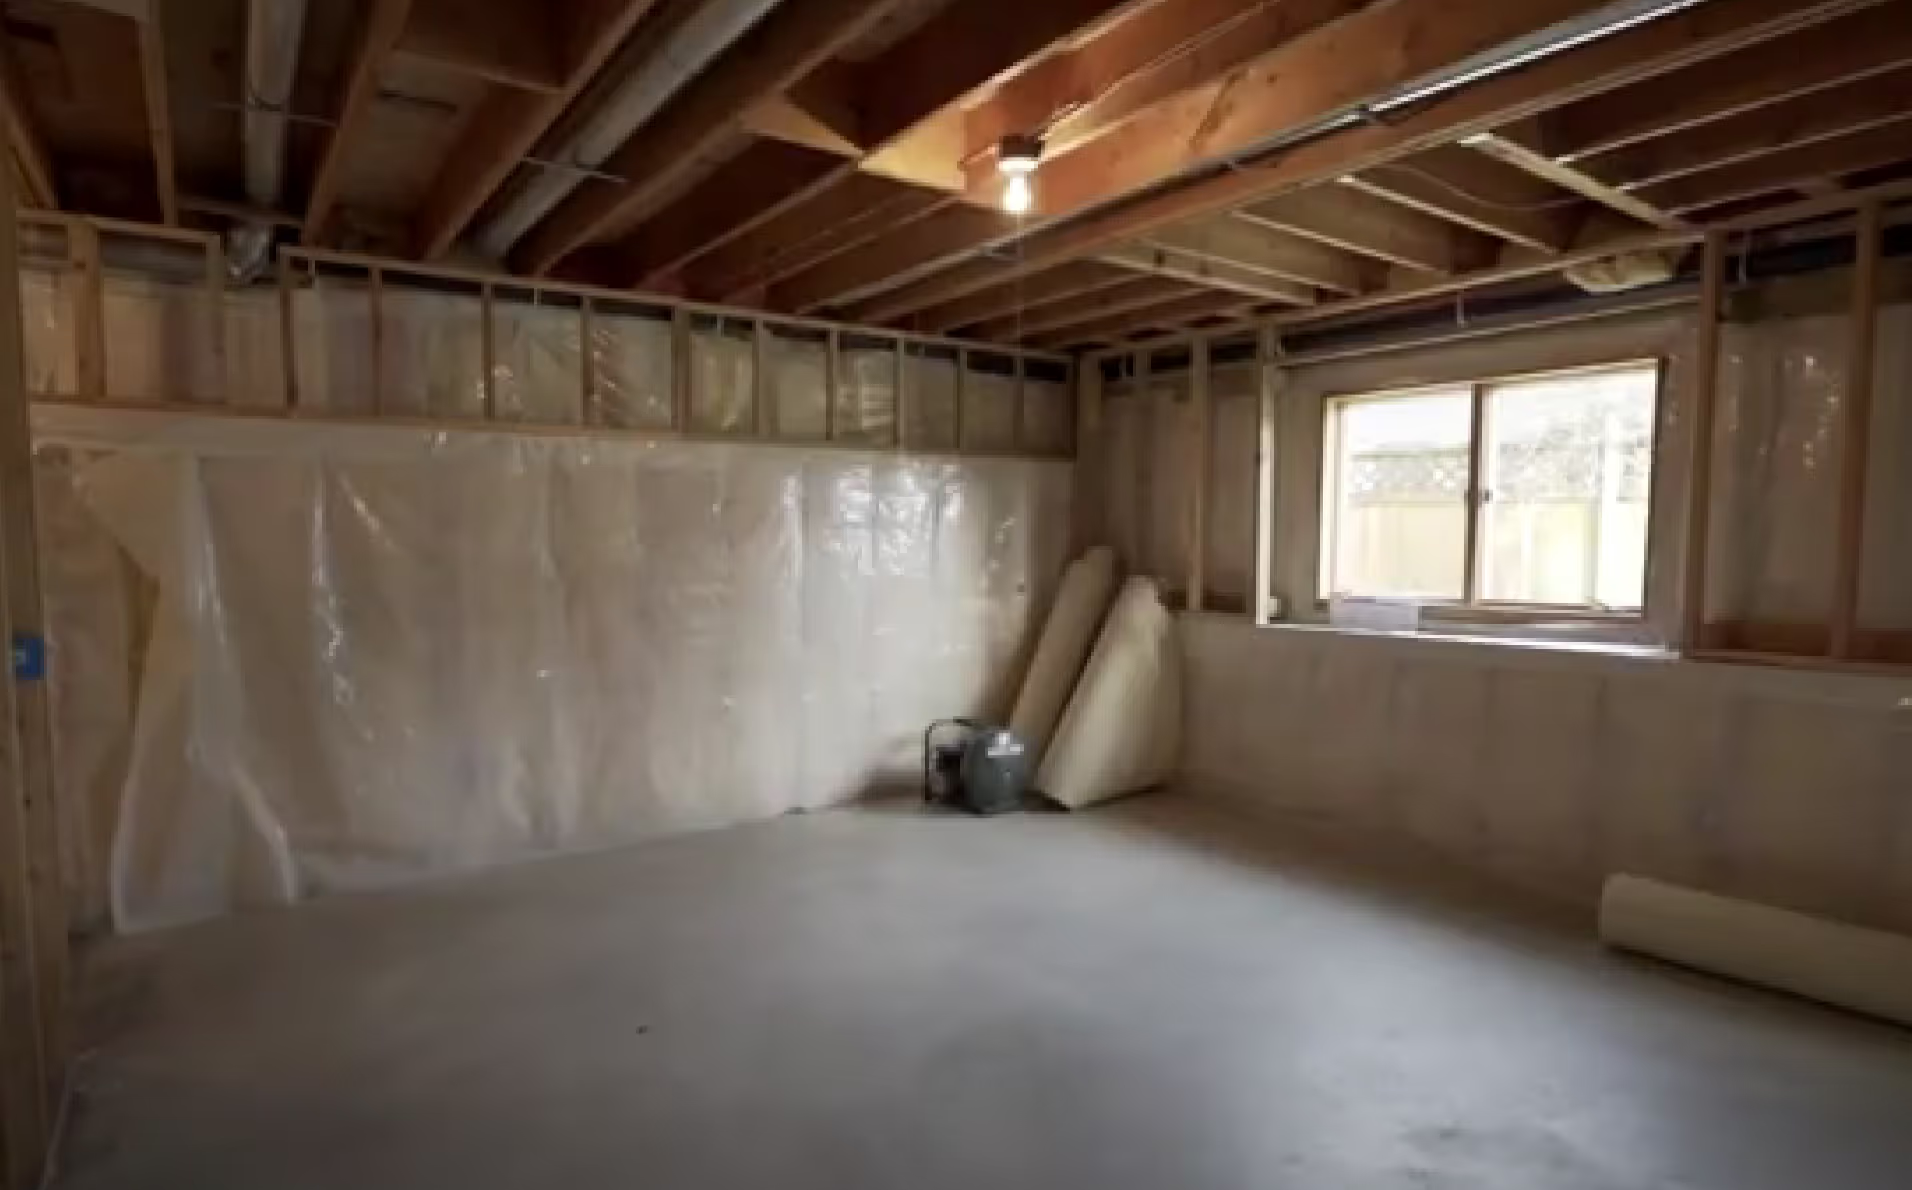
Installing egress windows is one of the most significant expenses in basement finishing projects, but costs vary dramatically based on several factors.
Complete egress window installation (including excavation, window well, window, and interior finishing):
These ranges assume standard foundation wall thickness (8-10 inches), no significant drainage complications, and accessible exterior space for excavation.
Foundation thickness: Homes with thicker poured walls or double-wythe block foundations require more concrete cutting, increasing labor costs by $500-$1,500.
Rock or difficult soil conditions: Excavating through rock, heavy clay, or areas with high groundwater adds $800-$2,000 in equipment and labor costs.
Limited access: Tight spaces between homes, fenced yards, or areas requiring hand digging rather than machinery increase costs significantly.
Drainage complications: Areas with poor drainage may need French drains, additional gravel, or sump pump connections, adding $500-$2,500.
Interior finishing complexity: Framing, insulation, drywall, and trim around new windows costs $800-$1,500 depending on wall construction and finish levels.
Multiple windows: Installing several egress windows may offer minor per-window discounts ($200-400 off subsequent installations) due to efficiency gains.
Quality egress window installations include:
Foundation cutting: Precision saw-cutting through concrete or block foundations to create proper opening size
Structural reinforcement: Installing headers and support to maintain foundation integrity around the opening
Window well excavation: Machine excavation to proper depth and dimensions per code
Drainage system: Gravel base, optional drain tile connection to prevent water accumulation
Window well installation: Setting pre-fabricated metal, concrete, or composite wells and backfilling properly
Window installation: Setting egress-compliant windows with proper flashing, sealing, and weatherproofing
Interior framing: Building out rough opening with insulation and vapor barrier
Interior finishing: Drywall, trim, and paint to match surrounding spaces
Cleanup and restoration: Removing excavated material, grading, and restoring landscaping
Inspection coordination: Scheduling required inspections and ensuring code compliance
At Country Creek Builders, we coordinate egress window installations as part of comprehensive basement finishing projects, ensuring windows integrate cleanly with layouts and finish schedules.
Installing egress windows requires specialized equipment and expertise:
Most homeowners lack the tools, experience, and physical capability to complete installations safely and correctly. Poor DIY installations create:
Professional installation costs more upfront but prevents expensive problems and ensures your basement finishing project passes inspection the first time.
Not all egress windows are created equal. Understanding your options helps you balance code compliance, cost, aesthetics, and functionality.
Slider windows open horizontally on tracks, with one or both panels sliding to create the egress opening.
Advantages:
Disadvantages:
Cost range: $1,200-$2,500 for quality egress-rated slider windows
Best for: Standard basement bedrooms where cost-effectiveness and code compliance are priorities
Casement windows hinge on the side and swing outward, creating full opening with crank operation.
Advantages:
Disadvantages:
Cost range: $1,500-$3,000 for quality egress-rated casement windows
Best for: Premium basement suites where aesthetics and maximum light are priorities
Hopper windows hinge at the bottom and tilt inward. Single hoppers rarely meet egress requirements but are often combined with other windows.
Advantages:
Disadvantages:
Cost range: $400-$900 for standard hopper windows
Best for: Adding natural light to bathroom or utility areas that don't need full egress
Some manufacturers offer combination systems with multiple operating sections designed specifically for egress applications.
Examples include:
These systems cost more but solve challenging applications where standard windows don't work well.
Vinyl frames: Most cost-effective, low maintenance, good insulation. Standard choice for most basement applications.
Fiberglass frames: Superior strength and insulation, won't warp or rot. Premium option for long-term value.
Steel frames: Maximum strength and security, modern aesthetic. Best for contemporary designs.
At Country Creek Builders, we typically specify vinyl frames for standard applications and upgrade to fiberglass for premium basement finishing projects where durability and performance justify the investment.
The window well is as important as the window itself—it must provide safe escape access while preventing water intrusion and maintaining structural integrity.
Corrugated galvanized steel wells are the most common and economical option.
Advantages:
Disadvantages:
Typical cost: $300-$800 including installation
Best for: Budget-conscious installations where aesthetics are secondary to code compliance
Stone-look composite materials mimic natural rock while providing superior durability.
Advantages:
Disadvantages:
Typical cost: $800-$1,500 including installation
Best for: Homeowners who want attractive, maintenance-free wells without custom concrete costs
Site-built wells using natural stone, concrete block, or poured concrete offer ultimate customization.
Advantages:
Disadvantages:
Typical cost: $2,000-$5,000+ including installation
Best for: High-end homes where curb appeal and custom design justify premium investment
Minnesota's heavy rain and snowmelt make proper drainage critical. Window wells without adequate drainage fill with water, creating safety hazards and potential flooding.
Effective drainage includes:
Gravel base: Minimum 6-12 inches of drainage gravel at the well bottom allows water to percolate into surrounding soil
Drain tile connection: For areas with poor drainage, connecting window wells to perimeter drain systems or independent drains prevents water accumulation
Sloped wells: Properly installed wells slope slightly away from windows to shed water
Covers with drainage: Well covers should allow water passage while keeping debris out
At Country Creek Builders, we integrate window well drainage with overall basement waterproofing systems to ensure comprehensive moisture management.
Window well covers serve multiple purposes beyond just keeping debris out.
Clear polycarbonate covers ($100-$300):
Grated metal covers ($150-$400):
Custom covers ($300-$800+):
Minnesota winters are harsh on window wells. Quality covers prevent snow and ice accumulation that would block emergency egress during the times it's most needed.
Cutting openings in foundation walls requires understanding structural implications and maintaining your home's integrity.
Foundation walls carry significant load from the structure above. Creating large openings for egress windows requires proper engineering.
Poured concrete walls: Need reinforced headers above openings, typically using steel lintels or reinforced concrete beams
Concrete block walls: Require more extensive reinforcement since individual blocks can't span openings like poured walls
Older foundations: May have been built with different standards and require structural assessment before cutting
Professional installation includes calculating loads, designing appropriate headers, and ensuring modifications don't compromise foundation strength.
Headers distribute structural loads around window openings. Proper header sizing depends on:
Typical egress windows require 4x12 or 6x12 treated lumber headers or equivalent steel lintels. Undersized headers can cause:
Beyond egress window specifications, installations must meet:
R310.2 - Emergency escape and rescue opening required: At least one operable emergency escape and rescue opening for every basement bedroom
R310.1.1 - Minimum opening area: 5.7 square feet net clear opening
R310.1.2 - Maximum sill height: 44 inches above floor
R310.1.3 - Window wells: Minimum 9 square feet horizontal area with 36-inch projection
R310.1.4 - Window well ladders: Required when well depth exceeds 44 inches, with rungs spaced maximum 18 inches apart
Building inspectors verify these requirements before issuing certificates of occupancy. Non-compliant installations must be corrected before you can legally use basement bedrooms.
Excavating near foundations creates hazards that require proper safety measures:
Professional contractors carry insurance and follow OSHA safety regulations. DIY installations put homeowners at significant liability risk if accidents occur.
Egress windows aren't just code compliance boxes to check—they're opportunities to add natural light and improve basement spaces when thoughtfully integrated into designs.
Smart basement layouts position bedrooms along exterior walls where egress windows are easiest to install.
Ideal configurations:
Problematic locations:
At Country Creek Builders, our in-house design services optimize bedroom placement before finalizing layouts, preventing expensive surprises during installation.
Egress windows provide more than emergency escape—they're primary light sources for basement bedrooms.
Design strategies:
Basements with ample natural light feel less like "basement bedrooms" and more like comfortable, inviting spaces.
Egress windows create constraints for furniture placement since windows must remain unobstructed for emergency use.
Planning guidelines:
Professional basement finishing includes furniture layouts that balance functionality with code compliance and safety.
Well-designed egress installations enhance rather than detract from basement aesthetics.
Design approaches:
The best egress installations look like intentional design features, not required add-ons.
Understanding Apple Valley's permitting requirements prevents delays and ensures your basement finishing project stays on schedule.
Building permit: Required for any foundation opening, typically costs $100-$300 depending on project scope
Electrical permit: If adding circuits or outlets near windows, separate electrical permit required ($50-$150)
Combined permits: Many homeowners pull comprehensive permits covering entire basement finishing projects rather than separate permits for each component
Apple Valley building department requires:
Detailed drawings showing:
Product specifications:
Site plan:
Contractor license documentation:
Apple Valley typically requires two inspections for egress window installations:
Rough-in inspection (after foundation cutting, before window installation):
Final inspection (after complete installation):
Inspections must pass before certificates of occupancy are issued for finished basements.
After 586+ basement projects, we've seen these issues cause inspection failures:
Undersized openings: Windows not providing required 5.7 square feet clear opening
Excessive sill height: Window bottom more than 44 inches above floor
Inadequate window wells: Wells not meeting 9 square foot and 36-inch projection requirements
Missing ladders: Wells deeper than 44 inches without permanent ladders or steps
Poor drainage: Window wells without adequate drainage systems
Structural concerns: Improper or missing headers above openings
Safety violations: Sharp edges, unstable well walls, or other hazards
Working with experienced contractors minimizes inspection problems. At Country Creek Builders, we coordinate with Apple Valley building officials throughout projects to ensure compliance.
Egress windows require ongoing maintenance to remain safe and functional.
Spring:
Summer:
Fall:
Winter:
Water accumulation in wells:
Rusty or deteriorating metal wells:
Window operation problems:
Settling or tilting wells:
Damaged or missing well covers:
Homeowner's insurance: Properly installed, code-compliant egress windows may reduce premiums since they improve fire safety. Check with your insurance provider about potential discounts.
Resale value: Homes with legal basement bedrooms (including proper egress) command higher prices than those with non-conforming spaces. Buyers increasingly verify that basement bedrooms meet code.
Disclosure requirements: Minnesota sellers must disclose non-conforming basement bedrooms. Properly installed egress windows eliminate this disclosure requirement and potential liability.
Financing: Mortgages for homes listing basement bedrooms may require verification of code-compliant egress during appraisals.
Yes, egress windows can be added to existing bedrooms. However, be aware that pulling permits may require bringing your entire basement up to current code, potentially triggering additional expensive improvements beyond just the egress window.
Professional installation typically takes 1-2 days for single windows, including excavation, concrete cutting, window installation, and interior finishing. Multiple windows or complicated installations may take 3-4 days.
No. Egress windows are only required for basement sleeping spaces. Recreation rooms, home theaters, bars, and family rooms don't need egress windows.
Only if they meet all code requirements: minimum 5.7 square feet clear opening, maximum 44-inch sill height, proper opening dimensions, and compliant window wells. Most older basement windows are too small to meet egress requirements.
Thick walls require custom extension jambs and may need specialized windows. This adds $200-$600 to window costs but doesn't prevent installation. Experienced contractors handle thick walls regularly in older South Metro homes.
No practical alternatives exist for residential applications. Fire sprinkler systems theoretically allow reduced egress requirements in some jurisdictions, but installation costs ($8,000-$15,000 for whole-home systems) far exceed egress window expenses.
You'll face code violations, failed inspections, certificates of occupancy denial, potential insurance claims denial after fires, liability if someone is injured, difficulty selling your home, and expensive correction costs including tearing out finished spaces to add windows properly.
Look for contractors with:
At Country Creek Builders, we've completed 586+ projects across the South Metro including hundreds of egress window installations as part of comprehensive basement finishing.
Egress windows aren't obstacles to your basement finishing dreams—they're opportunities to create safe, legal, light-filled bedrooms that add real value to your home.
Here's your action plan for egress window planning:
Step 1: Determine if your basement bedrooms need egress windows (any sleeping space requires them)
Step 2: Work with experienced basement finishing contractors who can integrate egress windows into designs from the start rather than as expensive afterthoughts
Step 3: Budget appropriately: $3,500-$8,000 per window depending on specifications and site conditions
Step 4: Optimize bedroom placement along exterior walls where egress installation is straightforward and cost-effective
Step 5: Select window and well combinations that balance code compliance, cost, aesthetics, and long-term maintenance
Step 6: Ensure your contractor coordinates permitting, inspections, and compliance with Apple Valley or your municipality's requirements
At Country Creek Builders, we've spent 25+ years transforming South Metro basements into beautiful, functional living spaces—and we know exactly how to integrate egress windows efficiently and cost-effectively. Our systematic design-build approach incorporates egress planning from initial consultations, preventing the expensive surprises that plague homeowners who don't think about code requirements until mid-project.
Ready to create a finished basement with legal, safe, beautiful bedrooms? Contact us for a no-pressure consultation where we'll discuss your plans, assess egress requirements, and show you exactly how we'll integrate windows into a comprehensive design that meets code while exceeding your expectations.
Your family deserves a basement that's not just beautiful—it's safe, legal, and built right.
We're based out of the South Metro Twin Cities, and we serve both